A Adobe Illustrator, podeu dibuixar un engranatge 3D mitjançant formes senzilles, transformacions i efectes 3D.
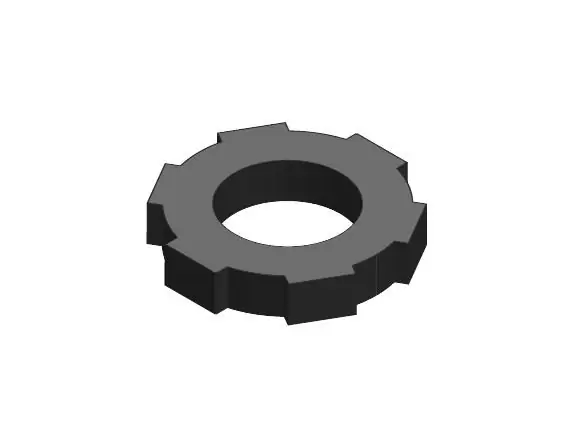
Necessari
Programa Adobe Illustrator
Instruccions
Pas 1
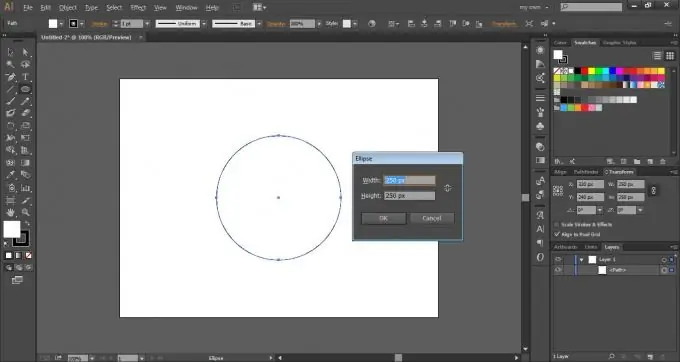
Seleccioneu l'eina El·lipse [L] i dibuixeu un cercle amb un diàmetre de 250 píxels. Per dibuixar un cercle uniforme, manteniu premuda la tecla [Maj] mentre dibuixeu o feu clic una vegada a l'àrea de treball i introduïu 250 al quadre de diàleg que apareix als dos camps.
Pas 2
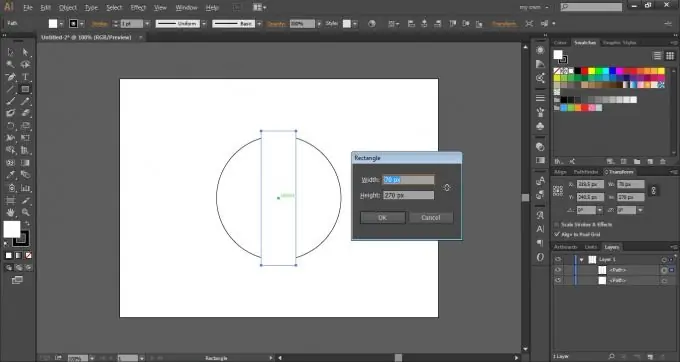
Seleccioneu l'eina Rectangle [M]. Mou el cursor al centre del cercle fins que aparegui "centre", mantén premut [Alt] i fes clic. A la finestra que apareix, introduïu els valors de 70x270 píxels.
Pas 3
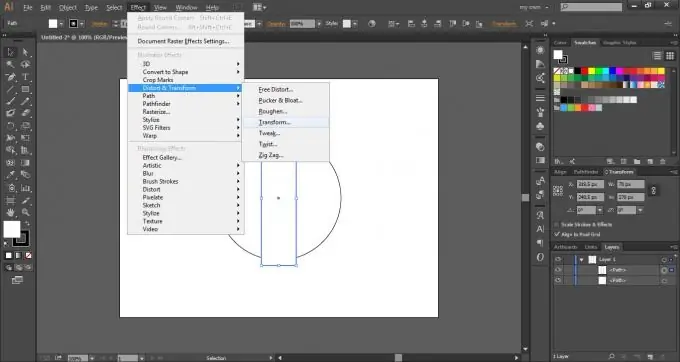
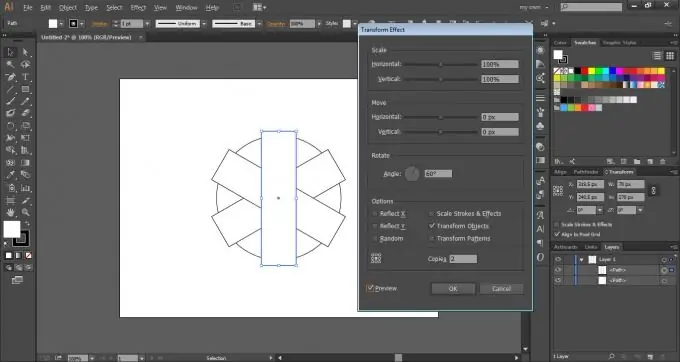
Sense treure la selecció del rectangle, aneu a Efecte> Distorsionar i transformar> Transformar.
Pas 4
Introduïu 60 ° al camp Angle i 2. Feu clic a D'acord al camp Copies.
Pas 5
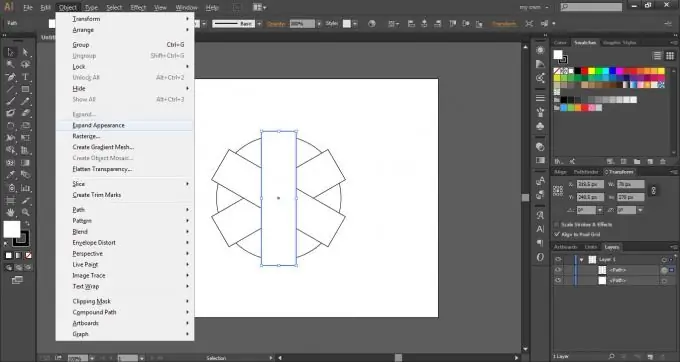
Aneu a Objecte> Amplia l'aspecte.
Pas 6
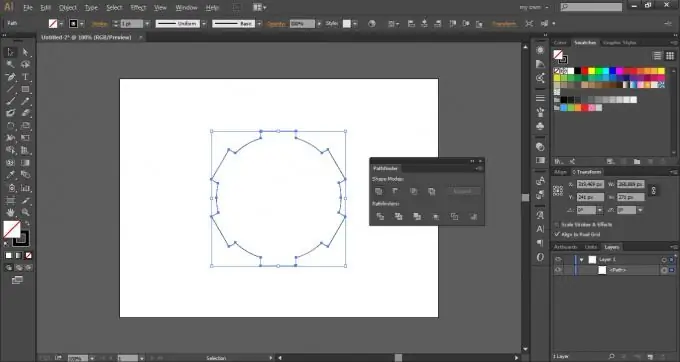
Seleccioneu tots els camins amb la drecera de teclat [Ctrl + A], aneu al tauler Pathfinder (Finestra> Pathfinder) i premeu Unite.
Pas 7
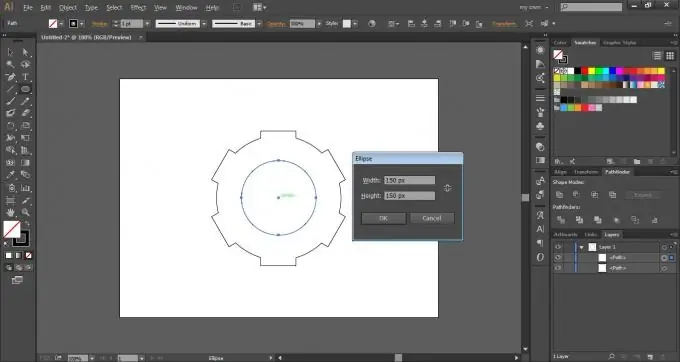
Seleccioneu l'eina El·lipse [L] i dibuixeu un altre cercle de 150 px al centre.
Pas 8
Seleccioneu tots els camins amb la drecera de teclat [Ctrl + A], aneu al tauler Pathfinder (Finestra> Pathfinder) i premeu Menys Front.
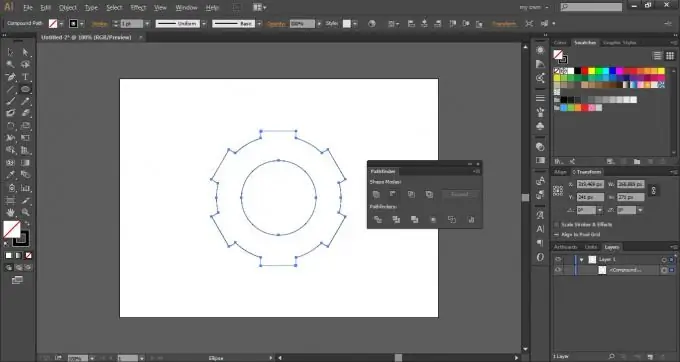
Pas 9
Seleccioneu el camí resultant i torneu a pintar amb # 808080.
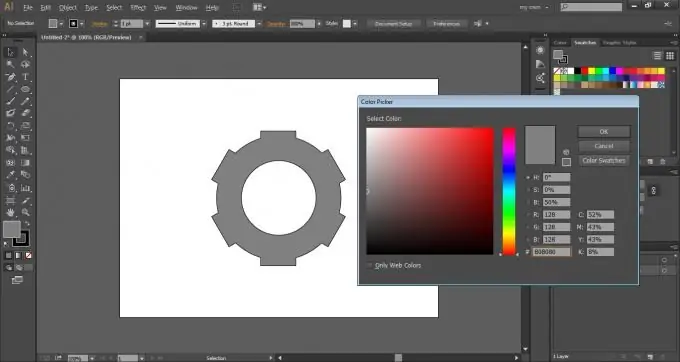
Pas 10
Sense eliminar la selecció, aneu a Efecte> 3D> Extrudeix i bisella.
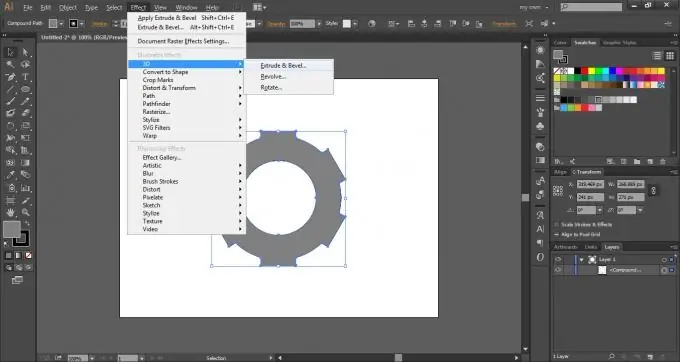
Pas 11
A la llista desplegable Posició, seleccioneu Top isomètric. Feu clic a D'acord.
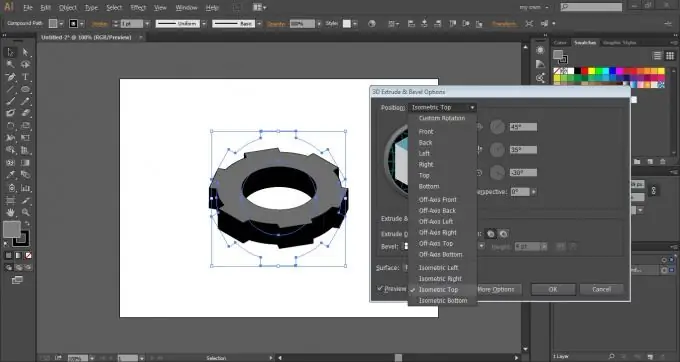
Pas 12
Feu el color del traç # 333333.


